How To Clean AC Coils
For today’s DIY guide I will show you how to clean AC coils. Coils are one of the most important components of your air conditioner. These coils have to be in perfect working condition for your AC to perform well. With the help of the coils, air conditioners transfer the hot air from inside to outside your home, giving you a cool & comfortable ambiance. When the coils get dirty, your AC has to struggle to do this job. As a result, not only is its efficiency gets affected, but it also consumes a lot of power in the process, leading to high energy bills for you.
Cleaning AC coils is an interesting DIY project, if you have the proper resources and the time. Listed below are some simple steps you can follow to clean the coils of your air conditioner yourself, and save money on energy bills & maintenance expenses.
How frequently should you clean AC coils?
AC coils are of two types – the evaporator coils and the condenser coils. Evaporator coils, located at the back of the fins of the AC, capture the heat from the inside of your rooms. The condenser coils, found inside the outdoor cabinet of your ACs, help in releasing the heat that the evaporator coils capture, thereby cooling your rooms effectively.
Regular cleaning of the dust and debris accumulated in the AC coils is very important for the overall performance of the AC. While it is highly recommended to clean the coils once every 2 or 3 months, you can increase this frequency if you live in a place that is prone to high pollution and contamination. Don’t forget to get your ACs checked by a professional once a year, as part of their annual maintenance schedules. If you use ACs extensively, you should clean their coils at least once a month.
Cleaning process of AC Coils
Identifying the coils
The first step in cleaning the AC coils is identifying the location of these coils. Here is how you do that:
Locating evaporator coils
- Open the access panel (check your AC’s manual to know where the access panel is located).
- The access panel is sealed with tape. Open this tape.
- Remove all nuts and screws in the panel to gain full access.
- Remove the cover of the access panel.
- Underneath the cover, you will notice two panels of evaporator coils behind the aluminum fins. (V-shaped frame).
Locating condenser coils
- Switch off the AC, and open the cover of the condenser.
- A cage can be found inside the condenser.
- Unscrew the screws on the cage to gain access to the parts.
- Once the cage is opened, you will notice the fins with the condenser coils.
Cleaning process
Using a coil brush
- Clean the coils first, if there are leaves or spider webs on them. Use a coil brush to clean all these particles from the coils.
- Use a coil comb to clean the gentle fins of the coils. Be very gentle with this process, as a little bit of force can damage the coils.
- Sometimes, the fins can bend when you clean them. Use a fin comb to straighten them gently.
- Clean the area around the fins and coils, and you are done!
Using compressed air
- Place the nozzle of compressed air on the side of the coil that needs cleaning. Remember that the compressed air should flow in the opposite direction of the natural airflow.
- The gentle, uniform pressure of the compressed air will help to get rid of the dust accumulated in the coils. Avoid using high pressure, as it can damage the fins.
- Make sure that you don’t expose the ducts to this compressed air, as it can cause blockages there.
- Clean the areas around the coils and fins, and close the area properly.
Using store-bought cleaners
- Mostly AC copper coils can be cleaned effectively when you use acid-based cleaners. Here is how you can do this:
- Spray the cleaner on the coils directly (read the instructions carefully) and wait for about 15 minutes for the chemicals to act on the coils.
- If the dust particles have started to fall off, you can proceed to the next step. Else, you have to reapply the cleaner and wait for some more time.
- Rinse the chemicals completely, give some time for drying and close the unit properly.
- Switch on the AC for about 60 minutes to give time for the coils to dry well.
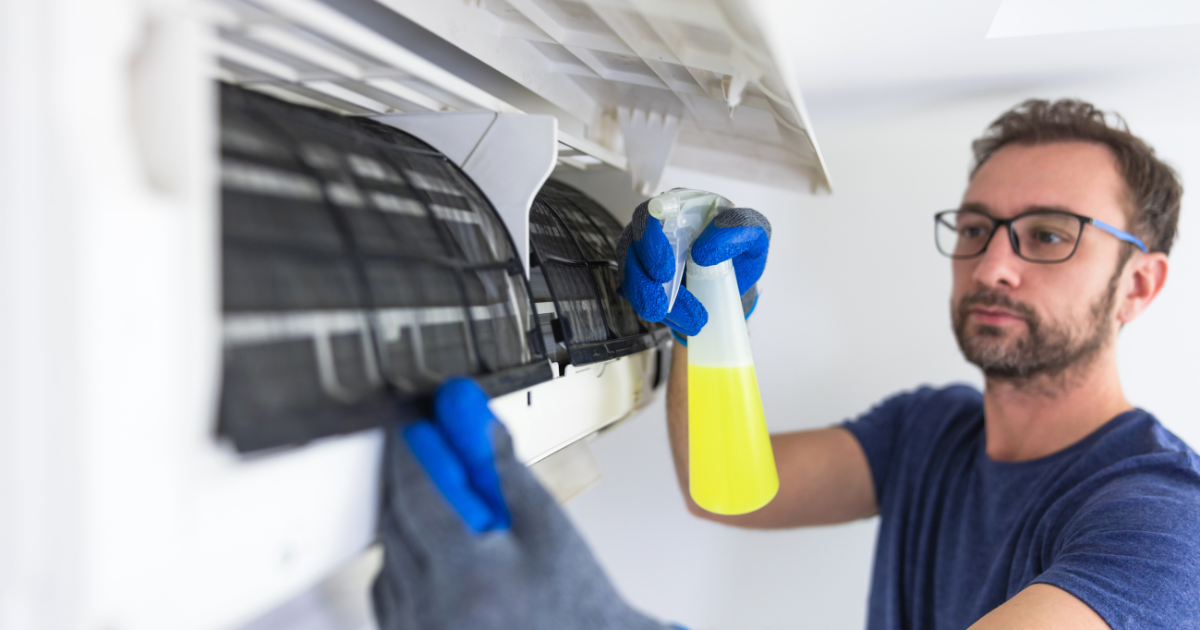
Using DIY coil cleaner
- Make a DIY cleaner with mild detergent and water. Pour this into a spray bottle.
- Spray on the coils uniformly, and allow them to sit there for about 10 minutes.
- Wipe the coils dry with a clean & dry cloth. For condenser coils, you can wash them off with a hose.
- Give it about 30 to 60 minutes drying time, before you switch the unit on.
Getting professional help
If you notice a lot of grime, dust and other residues on the coils, it may not be possible for you to clean them using the above steps. In that case, you have to seek the services of a professional. An expert AC mechanic uses commercial-grade coil-cleaning agents, that you may not have access to in your home. Knowing when to seek professional help is very important in this case.
Bottom Line
Cleaning AC coils can be a DIY project, but it has to be done with a lot of caution and care. While using store-bought cleaners to get rid of dust from the coils, you should be careful to read the instructions properly. Some cleaners may require you to only wipe the coils with a damp cloth, while some may require rinsing.
Also, coils and fins are very delicate components. So, you need to be very delicate in your DIY project of cleaning AC coils. Investing in a good quality coil brush and fin brush is important if you want to extend your AC’s durability and performance. Cleaning AC coils once or twice a month is highly recommended. This is because when you clean regularly, you can easily wipe off the dust with a coil brush and close the panel and get your AC started. If you don’t clean your coils regularly, it may turn into a very costly and lengthy project, and you will be left with nothing but a deep sense of regret at that point in time.